HV 的 VM Import 功能可以快速地将 VMware/OpenStack 的 VM 迁移至 HV 中,此处测试 VMware 的迁移。
参考文档:https://docs.harvesterhci.io/v1.5/advanced/addons/vmimport/
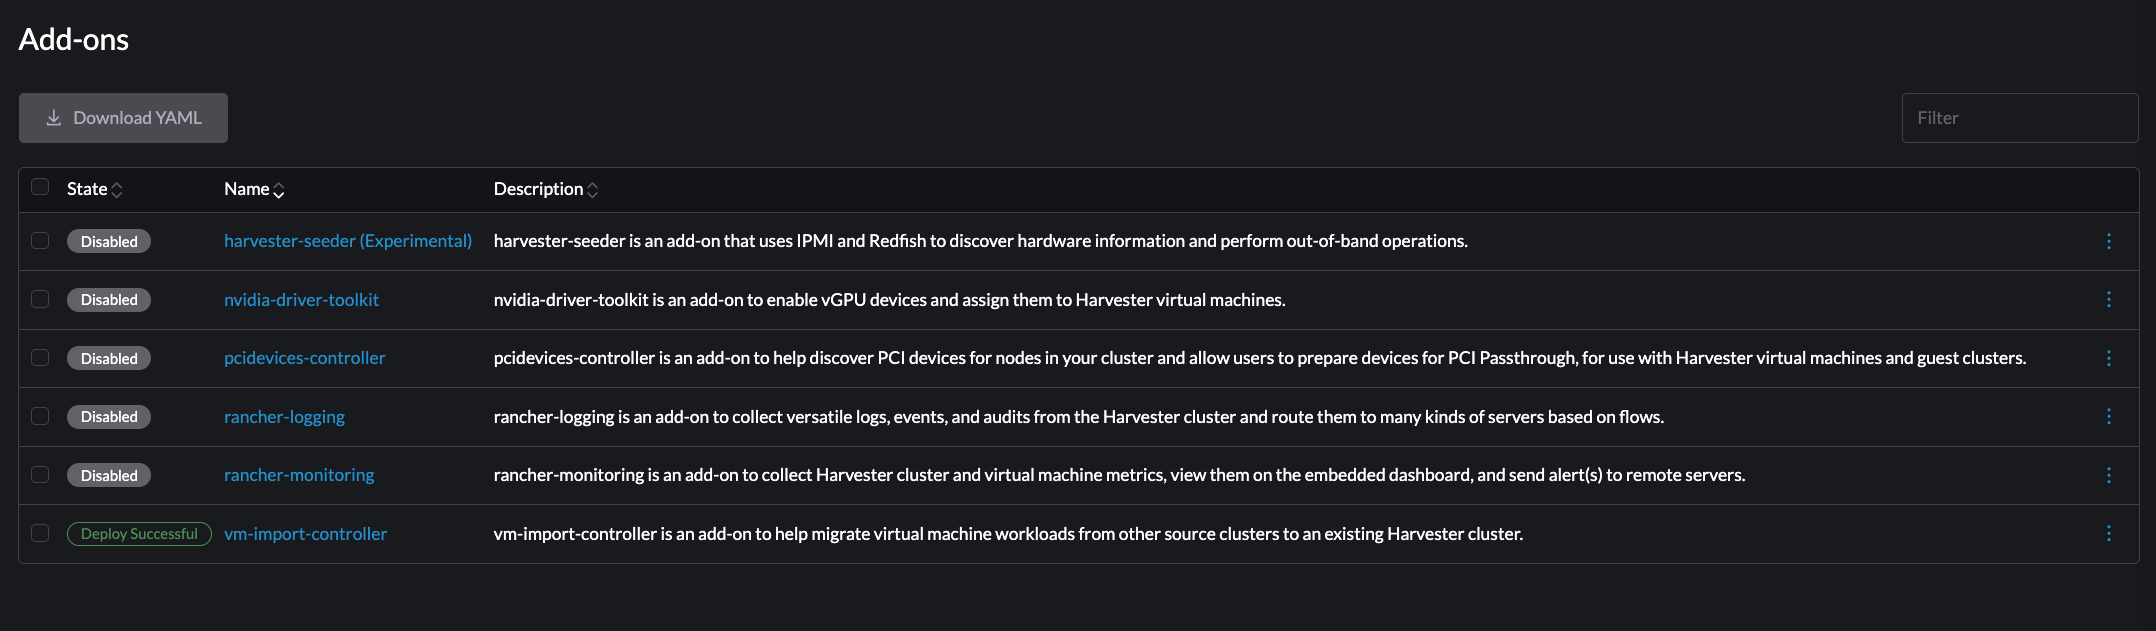
首先需要在 Addon 中开启 vm-import-controller:
创建 VmwareSource 和认证用的 Secret:
1
2
3
4
5
6
7
8
9
10
11
12
13
14
15
16
17
18
19
20
21
22
23
| cat <<EOF | kubectl apply -f -
apiVersion: migration.harvesterhci.io/v1beta1
kind: VmwareSource
metadata:
name: vcsim
namespace: default
spec:
endpoint: "https://vcenter.warnerchen.com/sdk"
dc: "DC0"
credentials:
name: vsphere-credentials
namespace: default
---
apiVersion: v1
kind: Secret
metadata:
name: vsphere-credentials
namespace: default
stringData:
"username": "xxx"
"password": "xxx"
EOF
|
确认 VM 所在的 Folder:
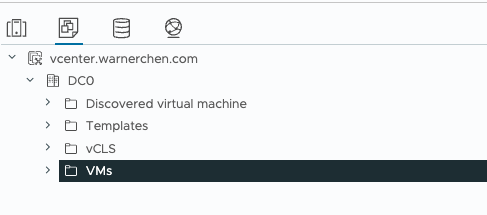
创建 VirtualMachineImport 用于迁移 VM:
1
2
3
4
5
6
7
8
9
10
11
12
13
14
15
16
17
18
19
20
21
22
23
24
| cat <<EOF | kubectl apply -f -
apiVersion: migration.harvesterhci.io/v1beta1
kind: VirtualMachineImport
metadata:
name: test
namespace: default
spec:
# 在 VMware 中的 VM 名称
virtualMachineName: "test"
# 在 VMware 中的 VM 所在文件夹
folder: "VMs"
networkMapping:
# 在 VMware 中的 VM 网卡设备名称
- sourceNetwork: "VM Network"
# 在 HV 中的 Virtual Machine Networks
destinationNetwork: "default/subnet-172.16.16.0"
# VM 磁盘将使用该 SC
storageClass: "harvester-longhorn"
sourceCluster:
name: vcsim
namespace: default
kind: VmwareSource
apiVersion: migration.harvesterhci.io/v1beta1
EOF
|
创建后,vm-import-controller 会下载对应的 vmdk 并上传至 HV 中,等待上传完毕,在 HV 的 Image 界面即可看到对应的 VM image:

并自动创建 VM:
